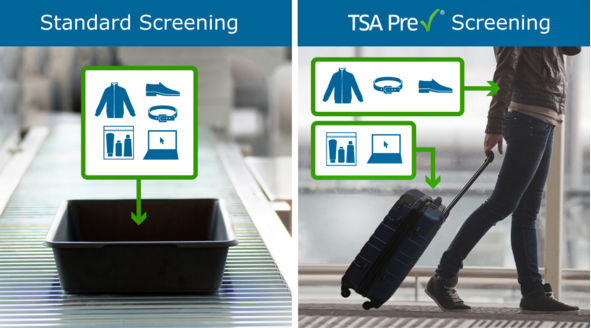
TSA PreCheck is great. I can walk from curb to gate in under 10 minutes, stopping briefly to put my keys and phone in a plastic dish. Otherwise I leave all my clothes on and don’t need to unpack my bags. The lines are shorter, too, now that the government has stopped letting non-enrolled passengers in as a courtesy trial.
I don’t have anything against more people using PreCheck, but it does hold up the line if you don’t know how it works. So everyone should get enrolled. It’s not difficult or expensive. I have a several credit cards that offer to waive the cost. If you pay yourself it can be as cheap as $85 for five years.
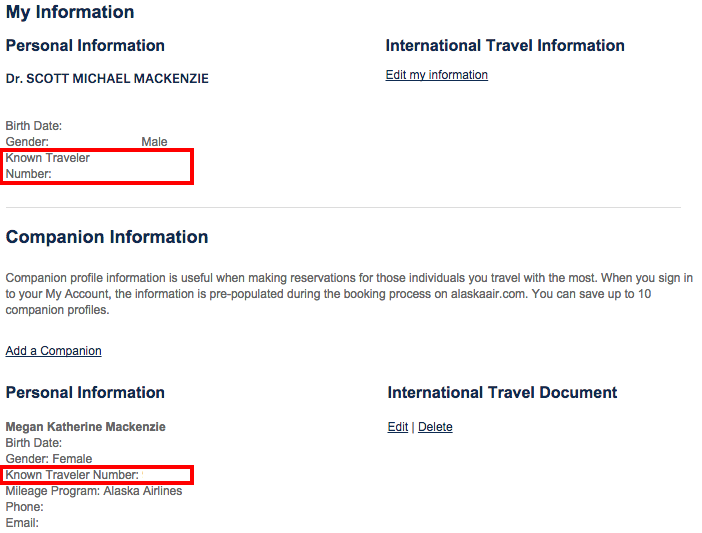
The most surprising comment I get from people is that they think they’re already enrolled. Back in the early days of PreCheck, it was the airlines’ responsibility to add their frequent customers to the program, and it was much more hit-and-miss. This is not how PreCheck works today. Once you enroll on your own, the success rate should be over 99%. The only time I have not received PreCheck is when I forgot to add my Known Traveler Number to the reservation.
You can get PreCheck in the following ways:
Register for PreCheck directly with the TSA. The total cost is $85 for five years. You can find enrollment centers at many U.S. airports and in urban cities.
Register for Global Entry with Customs and Border Patrol (CBP). The total cost is $100 for five years. If you change your name or get a new passport, check out my post on updating your Global Entry information for free.
Register for NEXUS or SENTRI, two programs for expedited border crossings with Mexico and Canada, respectively. Although they have extra benefits with these two countries, they also include Global Entry access. The total cost is just $50 for NEXUS and a little over $120 for SENTRI.
Any of these programs will provide you with a Known Traveler Number, which you can enter in your reservation to be considered for PreCheck.
IMPORTANT: Some readers have reminded me about long delays for scheduling an interview. You should make an appointment, but you can also try your luck as a walk-in.
Although access to the PreCheck queue is never a guarantee, as I said my success rate has been very good. Be sure to store your KTN in your airline profile so that it’s automatically added to new reservations. You can usually create profiles for your family members and other frequent companions.

Sometimes you’ll book a ticket through a travel agency or as an award ticket with another partner. For example, I’ll book Alaska Airlines tickets through Avios. There are lots of reasons why you won’t have your KTN added to the reservation. You should always request the confirmation number for the operating carrier, which is different from the confirmation number you were provided for the issuing carrier.
I’ll be checking in with Alaska for that award ticket, so Alaska needs to have my KTN in order to check if I’m eligible for PreCheck. I can do this by using the Alaska Airlines confirmation number that I request from British Airways to look up my reservation and then update my passenger information.
This is also a good time to make a seat assignment or request a complimentary upgrade, which is usually not done when booking through third parties. (Expedia, Concur, and others might make a request, but in my experience this is unreliable.)
Finally, you might have your KTN in your reservation already, but PreCheck can still fail when you’re connecting on international itineraries. I have frequently found that my PreCheck access is not authorized when I originate in another country, but it can be very important when I land in the U.S. and need to re-clear security. Don’t fret. Just check-in for the domestic flight again when you arrive, either from your mobile phone or at a kiosk. If you travel on an international carrier that doesn’t participate in PreCheck, you might have to speak to an agent for your domestic carrier and have the KTN added manually.
With these tricks, my PreCheck success rate is higher than ever. Just remember that the onus is on you to enroll through the proper channels and update the passenger information in your itinerary.


